To access the Intercom API, you have two authentication options depending on whether you app is public or private.
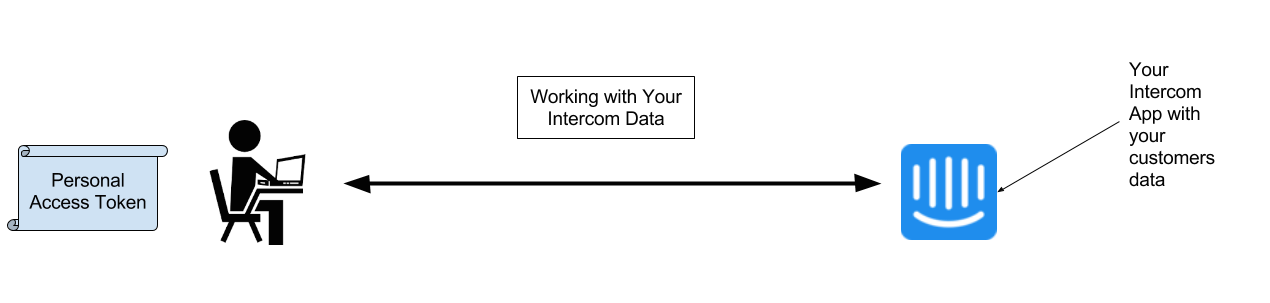
- An Access Token is for if you're using the API to access data in your own Intercom workspace, in other words, building a private app.
- OAuth is for if you're building a public app that accesses other people's Intercom data.
Access Tokens can be used for the following cases:
- You want to use the API to build a private Intercom app
- You want to run scripts to create or get data from your Intercom workspace
- You want to use the API to programmatically automate certain actions in your Intercom workspace
In all of these cases, the data you are accessing is your own team's customer data.
We provide you with an Access Token as soon as you create an app on your workspace.
You can find your Access Token in the Configure > Authentication section in your app within the Developer Hub.
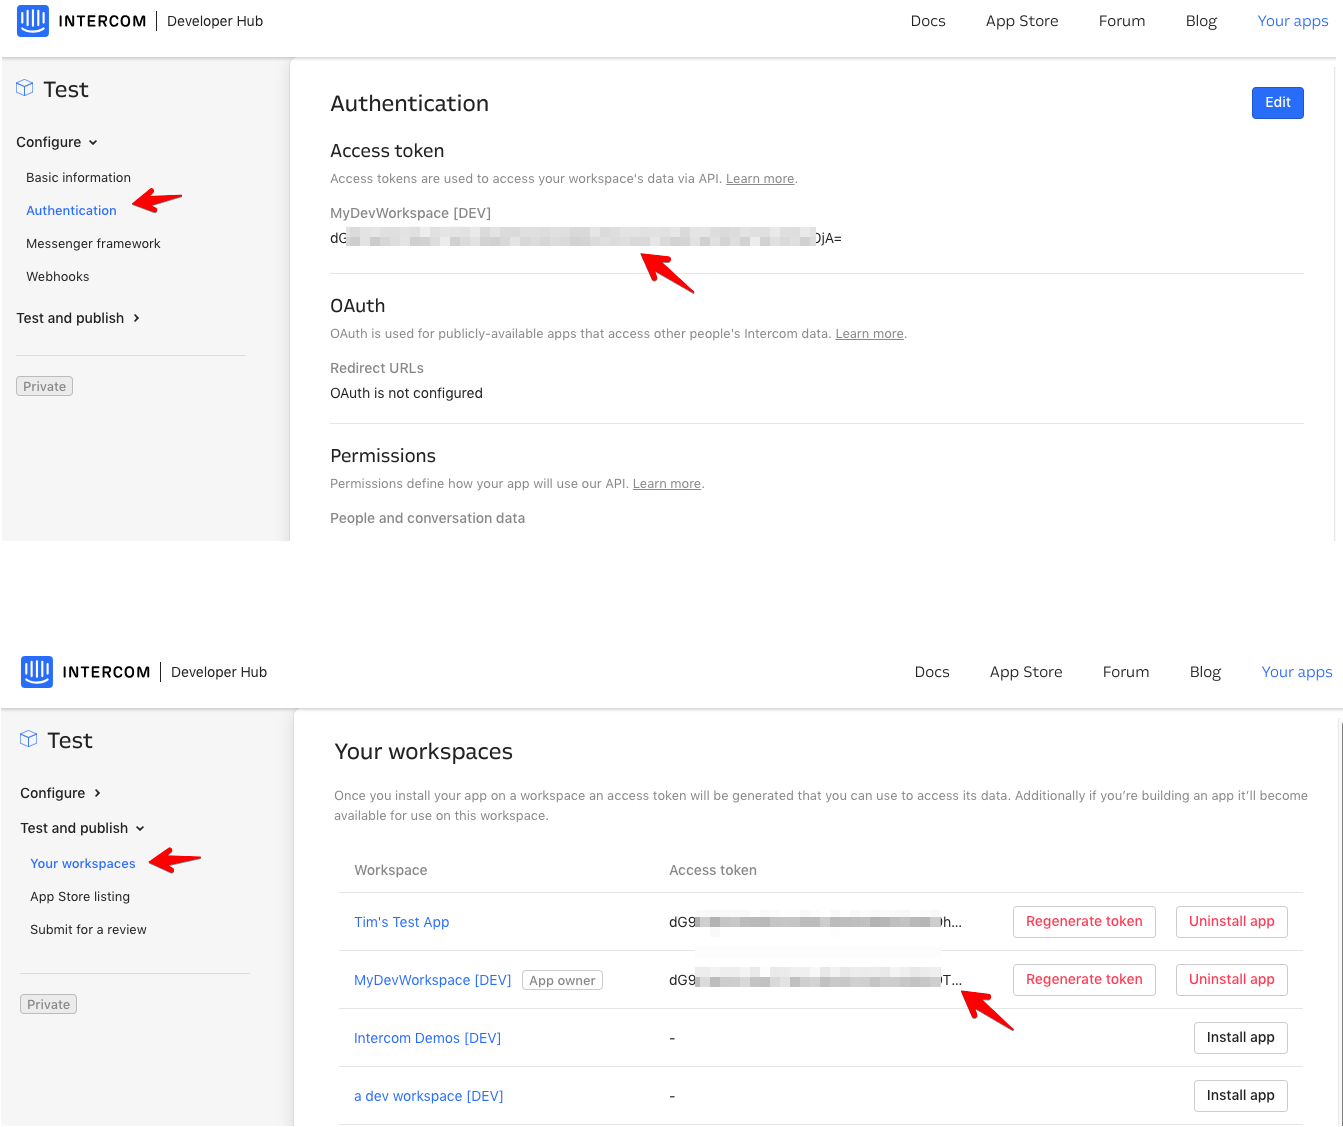
It is also visible on the Test & Publish > Your Workspaces page. This displays workspaces that have the app installed. More about how this works can be found in the Installing & Uninstalling Apps guide.
Your Access Token can give access to your private Intercom data and should be treated like a password. If an app provider asks you for your Access Token, please do not provide it. Instead, let us know - apps are required to use OAuth rather than asking users for Access Tokens.
You should use OAuth if:
- You are requesting access to other people's Intercom accounts/data (for example, through an integration you've built)
- You currently ask people for their API Keys to request resources on their behalf
- You want to make it easier for your customers to share their customers' data with you

To set up and test the OAuth installation flow in your development workspace by following this tutorial.
Asking your users for their Access Tokens rather than implementing OAuth is against our terms of service and may result in your API access being revoked.
Once you have a token, whether an access token or a token via the OAuth process, simply provide it as an Authorization:Bearer header in your requests, as shown below. If you want to go deeper on how the Authorization:Bearer header works please check out the full spec here.
$ curl \
-s https://api.intercom.io/users/5321a20f72cdbb4192000013 \
-H 'Authorization:Bearer <access_token>' \
-H 'Accept:application/json'
Alternatively, helper functions are provided in some of our SDKs to authorize via Access Tokens. This means you don't need to specify the header explicitly - it's all done under the hood.
intercom = Intercom::Client.new(token: '<access_token>');{"token": '<access_token>'}var client = new Intercom.Client({ token: '<access_token>' });