Installation
You have options on how you can install Intercom, using code snippets or third parties, including:
Getting started
First you’ll need to ensure that the Messenger for Web is enabled from inside the Intercom settings panel.
You enable the Messenger for Web. When this is disabled, all requests to Intercom will fail.
When enabled you should see a green check mark next to the step.
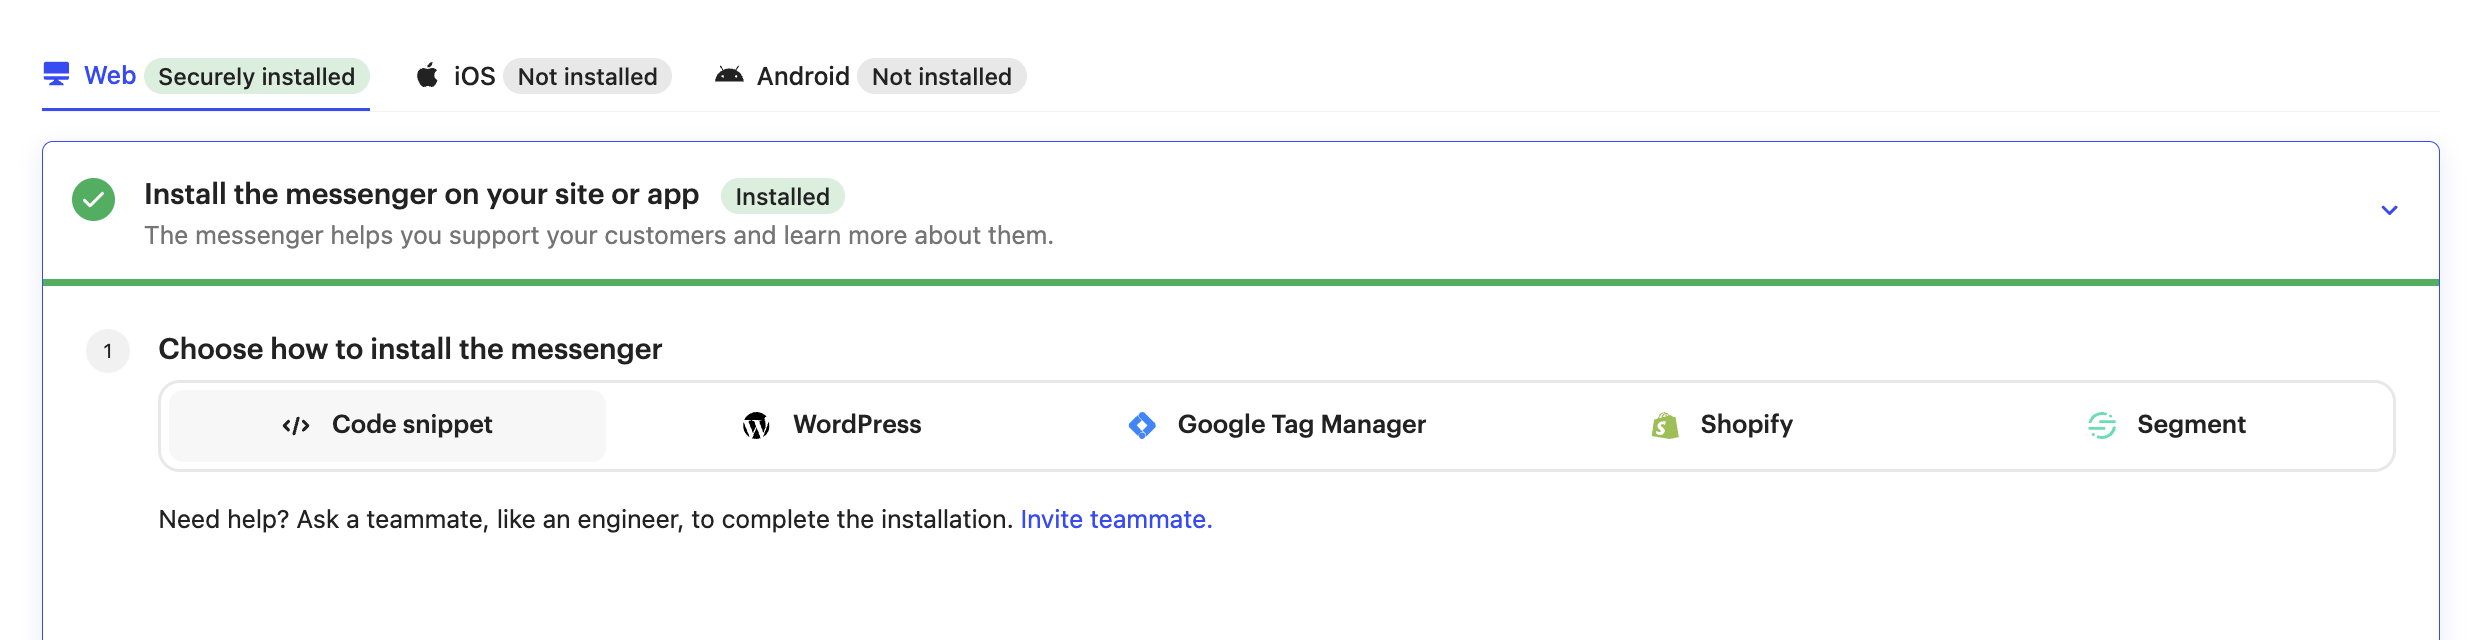
Now you may select the installation method you'd like to use. Once you make the choice, you need to toggle "enable user traffic for messenger" on in order to start accepting user requests from your messenger.
It's important to enable user traffic before you install the Messenger. If you don't, you may experience failed requests.

Basic JavaScript
If you have a web app with multiple pages where each one triggers a new page refresh then you will most likely need the basic JavaScript method. This means you will not need to create separate actions which trigger when the Messenger will appear or update: The page refresh itself will trigger the action.
To get the Messenger to appear on your web app copy and paste the snippet below before the </body> tag on every page where you want the Messenger to appear for website visitors or in your Node.js file.
You may see references to "Workspace ID" and "App ID". These are the same values.
In the code, you will need your own workspace ID at the placeholder that says "Your-Workspace-ID".
You can find this value in the URL when you are logged into Intercom. It will be a string of numbers and letters directly after apps/. So for https://app.intercom.com/a/apps/ecahpwf5/home the workspace ID is ecahpwf5.
- JavaScript
- NPM
<script>
  const APP_ID = "Your-Workspace-ID" // IMPORTANT: Replace with your workspace ID

  window.intercomSettings = {
    api_base: "https://api-iam.intercom.io",
    app_id: APP_ID,
    user_id: user.id, // IMPORTANT: Replace "user.id" with the variable you use to capture the user's ID
    name: user.name, // IMPORTANT: Replace "user.name" with the variable you use to capture the user's name
    email: user.email, // IMPORTANT: Replace "user.email" with the variable you use to capture the user's email address
    created_at: user.createdAt, // IMPORTANT: Replace "user.createdAt" with the variable you use to capture the user's sign-up date
  };
</script>

<script>
(function(){var w=window;var ic=w.Intercom;if(typeof ic==="function"){ic('update',w.intercomSettings);}else{var d=document;var i=function(){i.c(arguments);};i.q=[];i.c=function(args){i.q.push(args);};w.Intercom=i;var l=function(){var s=d.createElement('script');s.type='text/javascript';s.async=true;s.src='https://widget.intercom.io/widget/' + APP_ID;var x=d.getElementsByTagName('script')[0];x.parentNode.insertBefore(s, x);};if(document.readyState==='complete'){l();}else if(w.attachEvent){w.attachEvent('onload',l);}else{w.addEventListener('load',l,false);}}})();
</script>
The snippet above is set to use the US as the default regional data host. If you are using a data center hosted in the EU or Australia, you will need to choose the associated API base:
| Regional Location | API Base to Set |
|---|---|
| US | https://api-iam.intercom.io |
| EU | https://api-iam.eu.intercom.io |
| Australia | https://api-iam.au.intercom.io |
- JavaScript
- NPM
window.intercomSettings = {
    app_id: REGIONAL_APP_ID,
    api_base: `see table above`
  };
For website visitors without logins
The examples so far have been for logged-in users, which allows the Messenger to display information like customer names and previous conversations across devices. This is the recommended approach.
However, you may install the Messenger for anonymous website visitors who aren’t logged in by excluding the user details from the settings object. Conversations will be saved in the browser via a cookie.
- JavaScript
- NPM
<script>
  const APP_ID = "Your-Workspace-ID" // IMPORTANT: Replace with your workspace ID

  window.intercomSettings = {
    api_base: "https://api-iam.intercom.io",
    app_id: APP_ID,
  };
</script>


<script>
  (function(){var w=window;var ic=w.Intercom;if(typeof ic==="function"){ic('reattach_activator');ic('update',w.intercomSettings);}else{var d=document;var i=function(){i.c(arguments);};i.q=[];i.c=function(args){i.q.push(args);};w.Intercom=i;var l=function(){var s=d.createElement('script');s.type='text/javascript';s.async=true;s.src='https://widget.intercom.io/widget/' + APP_ID;var x=d.getElementsByTagName('script')[0];x.parentNode.insertBefore(s,x);};if(document.readyState==='complete'){l();}else if(w.attachEvent){w.attachEvent('onload',l);}else{w.addEventListener('load',l,false);}}})();
</script>
Single-Page App
For a single-page app, add the below before the tag or in your Node.js file.
- JavaScript
- NPM
<script>
  const APP_ID = "Your-Workspace-ID" // IMPORTANT: Replace with your workspace ID

  (function(){var w=window;var ic=w.Intercom;if(typeof ic==="function"){ic('reattach_activator');ic('update',w.intercomSettings);}else{var d=document;var i=function(){i.c(arguments);};i.q=[];i.c=function(args){i.q.push(args);};w.Intercom=i;var l=function(){var s=d.createElement('script');s.type='text/javascript';s.async=true;s.src='https://widget.intercom.io/widget/' + APP_ID;var x=d.getElementsByTagName('script')[0];x.parentNode.insertBefore(s,x);};if(document.readyState==='complete'){l();}else if(w.attachEvent){w.attachEvent('onload',l);}else{w.addEventListener('load',l,false);}}})();
</script>
One of the most common issues people have when setting up Intercom first is they forget to include their App ID in the above library code and copy and paste it into their site. The problem is you won't see any error message and Intercom will not show up when you boot the Messenger in the next step. You can set it using a var as noted in the above example or manually in the code itself. You might need to include the App ID in multiple places so using a var is generally a good idea.
You can find your workspace ID in the URL when you are logged into Intercom. It will be a string of numbers and letters directly after apps/. So for https://app.intercom.com/a/apps/ecahpwf5/home the workspace ID is ecahpwf5.
Now you can setup the Messenger to start up. Replace the example variables below in the boot call with your own user data variables. Once your app initializes, add the boot call where you load user data.
This step is not needed for installations with NPM Package.
window.Intercom("boot", {
  api_base: "https://api-iam.intercom.io",
  APP_ID: APP_ID,
});
The above example is the most basic way you can launch the Messenger. It does not include any information when it boots. You can include information here if you like but that will depend on what Intercom products you are using and what information you need from your users.
If you have the launcher on page where a user need to sign in to get to then you can include more info in that boot code.
- JavaScript
- NPM
window.Intercom('boot', {
  app_id: APP_ID,
  email: 'example@example.com',
  user_id: 'abc123',
  created_at: 1234567890,
});
You may update Intercom whenever the view or URL changes in your app. This will allow people to receive your most recent messages.
window.Intercom("update");
Rails gem
If you have a Rails app then you can use our Rails gem to install Intercom.
First, add Intercom to your Gemfile.
gem "intercom-rails"
Make sure Intercom is installed by running this command:
bundle install
Generate a config file with this command:
rails generate intercom:config <YOUR APP ID>
You can find your workspace ID in the URL when you are logged into Intercom. It will be a string of numbers and letters directly after apps/. So for https://app.intercom.com/a/apps/ecahpwf5/home the workspace ID is ecahpwf5.
Add the below line to the config file:
config.api_base = "https://api-iam.intercom.io"
Make sure your user object is accessible within your controllers as current_user or @user and that it responds to an id or email method. Once you’ve completed your changes, open your website. Your Messenger should appear in the bottom right corner.
WordPress
In order to use Intercom with WordPress you must have WordPress v4.2.0 or higher.
- Install the Intercom plugin, either for self-hosted sites or for hosted WordPress sites.
- Choose "Connect with Intercom" from the plugin's settings page & complete authentication.
- Open your WordPress site. Your messenger should appear in the bottom right corner.
Google Tag Manager
- Copy your workspace ID
- Follow the instructions from our Help Center to complete the set up.
Shopify
- Install the Shopify app from the Intercom App Store.
- Ensure customer accounts are enabled for your Shopify store.
- Log in to your Shopify store as a customer.
- Send a message as a customer to test the installation.
Segment
- Follow Segment's instructions to add Intercom as a destination.
- Activate Intercom.
- Add sources with identified users to send user data to Intercom.
Ending a session
Intercom allows you to put the Intercom Messenger on any public facing site that you own (your marketing site, your docs site, your developer hub, etc). In order to maintain continuity of conversations across all of these potentially different subdomains while your users are logged in, we set a cookie in your user's browser. This cookie expires after one week.
Any user that uses a shared computer and browser with someone else will be able to see the most recently logged in user's conversation history until the cookie expires. Because of this, it's very important to properly shutdown Intercom when a user's session on your app ends (via manually or automatically logging out).
How to shut down Intercom:
You will have already begun tracking your user via the Intercom JS snippet or the "boot" method.
When your user logs out of Intercom (or is automatically logged out by your app), call Intercom('shutdown'); from our JavaScript API or simply shutdown(); for NPM installations, to end the Intercom session and clear the cookie.
If applicable, call Intercom('boot', {app_id: 'Your-Workspace-ID'}) to start a fresh session.
The Intercom('shutdown') method will automatically reset Intercom to a clean state for logging in another user or booting Intercom for logged-out areas of your application
Next Steps
- Set up identity verification
- Customize the look and feel of the Messenger
- Try out the JavaScript methods for Web