JWT (JSON Web Token) is the recommended method to secure your Messenger. With JWT, you can ensure that bad actors can't impersonate your users, see their conversation history, or make unauthorized updates to data.
Already using Identity Verification? Check out our migration guide to switch from HMAC to JWT.
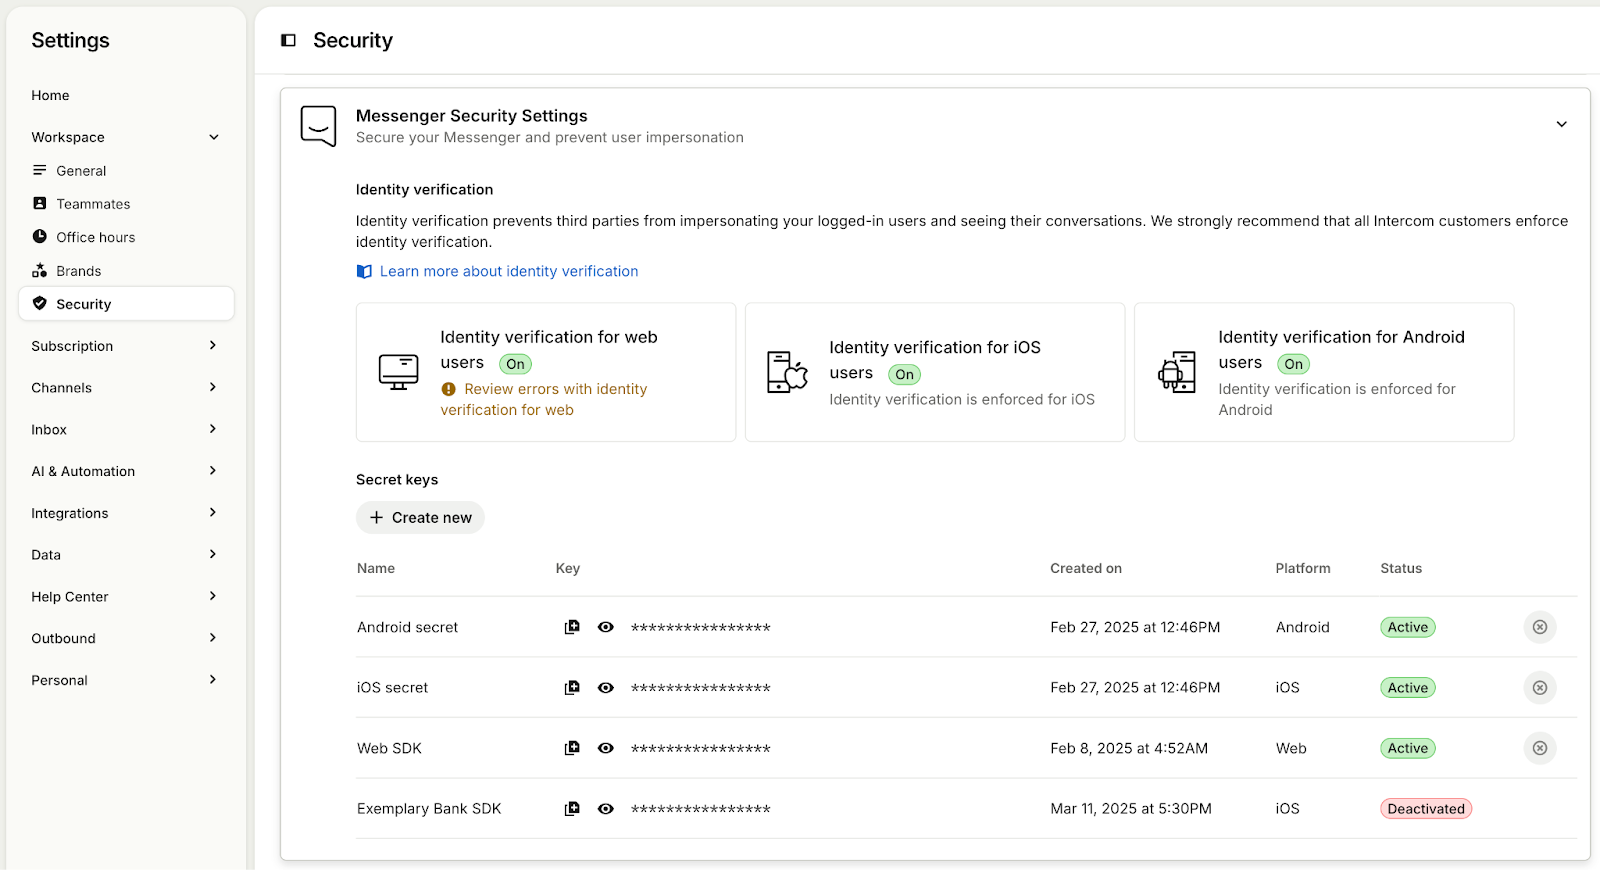
Get an Android enabled secret key from your Messenger Security settings in the Intercom app and store it in a secure place on your app server.
Toggle "Enforce messenger security" to ON in the same settings page.
❗️ Have you already released your app with the Intercom messenger in it?
If you have, then enforcing messenger security will stop old versions of your app from communicating with Intercom. We recommend that you complete setting up JWT authentication and test that everything is working. Then turn off enforcement and release an update to your app. This update will be sending JWTs to Intercom but not enforcing them. Once you are happy with the number of users on versions of your app sending JWTs, you can come back and toggle identity verification on, which will then start enforcing it for all versions of your app.
Your app server needs to be modified to generate a JWT for your users. The JWT should be signed with your Intercom Android API Secret using HMAC-SHA256 (HS256 algorithm).
The JWT payload should include the following claims:
{
  "user_id": "123456",    // Your user's ID (required)
  "email": "user@example.com", // Your user's email (optional)
  "exp": 1516242622,      // Expiration time (Unix timestamp, optional)
  "name": "John Doe",     // Standard attribute (optional)
  "created_at": 1516239022, // Standard attribute (optional)
  "custom_attribute": "value" // Custom attribute (optional)
}
You must include user_id in the JWT payload. The email field is optional and can be included alongside the user_id. The exp claim is also optional but recommended for better security.
You can also include any standard and custom attributes in the JWT payload. This allows you to secure your user data by signing it with your secret key. You can then enforce that these attributes can only be updated via the Messenger when they're signed with a valid JWT. Learn more about securing the data you send via the Messenger.
Here's an example of generating a JWT in different languages:
require 'jwt'

payload = {
  user_id: '123456',
  email: 'john@example.com',  # Optional
  exp: Time.now.to_i + 86400,  # Optional: Token expires in 24 hours
  name: 'John Doe',            # Optional
  created_at: Time.now.to_i,   # Optional: Current timestamp
  custom_attribute: 'value'    # Optional
}

token = JWT.encode(payload, YOUR_INTERCOM_ANDROID_SECRET, 'HS256')setUserJwt requires Intercom Android SDK 15.16.0 or later.
When your Android app initializes Intercom, pass in the JWT returned from your server's authentication call. This should be done before making any user Registration calls.
Intercom.client().setUserJwt("your_jwt_token_from_server")After setting the JWT, the SDK will include it with every request made to the Intercom API. The JWT is validated on each request. That's why it's essential to call setUserJwt before registering a user or making any other API calls - the JWT needs to be available to be sent with those requests.
When the Intercom API receives a request with a JWT, it verifies the signature using your Android API Secret and validates the claims in the token. If the JWT fails to verify, the API responds with a 400 error.
Token Expiration: Set token expiration times that match your app's session length. While shorter-lived tokens provide better security, the expiration should align with your authentication flow.
Token Refresh: If you set an expiry, periodically provide fresh tokens to the Intercom SDK, especially when updating user information. This ensures the most current user data is securely verified.
Your secret key can be generated in your workspace's Messenger security settings.
You can find and copy your existing keys on the right hand sidebar of the JWT setup page.
You can rotate keys in Workspace > Security > Messenger.
While JWT is the recommended method, we continue to support Identity Verification with HMAC for backward compatibility. This approach helps to make sure that conversations between you and your users are kept private and that one user can't impersonate another.
Get the Android identity verification secret from your app settings and store it in a secure place on your app server.
Next toggle enforce identity verification to on.
❗️ Have you already released your app with the Intercom messenger in it?
If you have then enabling identity verification will stop old versions of your app communicating with Intercom. We recommend that you complete setting up identity verification and test that everything is working. Then turn off identity verification and release an update to your app. This update will be sending user hashes to Intercom but not enforcing it. Once you are happy with the number of users on versions of your app sending the user hash you can come back and toggle identity verification on which will then start enforcing it for all versions of your app.
Your app server authentication code needs to be modified so that is uses the Intercom Android API Secret to create a HMAC digest (hash based message authentication code) from the user id or email address for that user. Then it returns the HMAC digest to your Android app. Note that identity verification does not apply to unidentified users, for whom you do not have a user id or email address.
The HMAC is computed as a SHA-256 digest as follows:
OpenSSL::HMAC.hexdigest('sha256', api_key.secret, user_id_or_email)If you wish to generate a HMAC in a different programming language we have a comprehensive list here.
When your Android app initializes Intercom if the user is identified (i.e., you have a user id or email address), pass in a String of the HMAC returned from your server's authentication call. This should be done before making any user Registration calls.
Intercom.client().setUserHash("your_hmac_of_user_id_or_email")The Intercom API Auth Server uses its copy of the Android API Secret to recreate the HMAC digest from the user_id or email. If it matches with the supplied HMAC digest, we can be sure that this request is coming from your app server and the API Auth Server issues an access token to the Android messenger.
If the HMAC fails to verify, the API Auth Server responds with a 401.
📘 Sending both user_id and email values?
If you send both email and user_id values in your integration, you need to calculate the HMAC on the user_id value.
Sending an HMAC derived from the email will fail with a 401 if a user_id is provided
- You must use the exact Android Secret Key that we provide you within the code. Making up your own won't work. Note: Don't confuse this with your app_id.
- Make sure you are using the Android Secret Key, not the iOS or web one they are not the same.
- The user data passed to your server must be either the user_id or email for that Intercom user. If you supply both email and user_id values, calculate the HMAC on the user_id value
- Do not forget that identity verification needs to be activated (and configured) separately in your development/test and production apps.